Lab 09: 2D Arrays and Images
1 Revisiting images
A few weeks ago in Lab 6, we learned how to create bmp images in a program with “green screening”, but were limited to tasks that didn’t require us to store any pixel values. Now that we know arrays and structs, we can do better.
In this lab, we will create a program imgmod that works something like this:
roche@ubuntu$./imgmodInput file:cat.bmpcommand:flipcommand:bloodcommand:mirrorcommand:flipcommand:blurcommand:blurcommand:blurcommand:write messedup.bmpcommand:quit
You will want to start by either looking up your own solution from lab 6 or download my sample solution for replace.c here.
So we will be reading, storing and writing files in the bmp format. I want you to use your own pictures for testing this stuff. Hopefully you already know how to download and save image files. What you need to know, however, is how to convert them to bmp files. Fortunately, the lab machines have a suite of tools called “Imagemagick” installed. One of these, convert, can do this conversion for you. Suppose foo.jpg is a file of yours (could be .png, .gif, whatever). To convert it to foo.bmp do the following:
convert foo.jpg -type truecolor bmp3:foo.bmpThe only small issue is that the width of your image has to be a multiple of 4, because of the way our programs to read bmp files work. So if you download an image whose width is not a multiple of 4, you want to use the resize option to fix that. For example, the following command resizes foo.jpg to width 80 and height 100 before converting it to foo.bmp:
convert foo.jpg -resize 80x100 -type truecolor bmp3:foo.bmpYou can use the identify command, like identify foo.jpg or identify foo.bmp, to check the current dimensions of any image.
Of course, you can convert back to .jpg with the following:
convert foo.bmp foo.jpgWith these simple commands in hand, you should be able to prepare your own images for this lab. To view an image, use the eog program. For example:
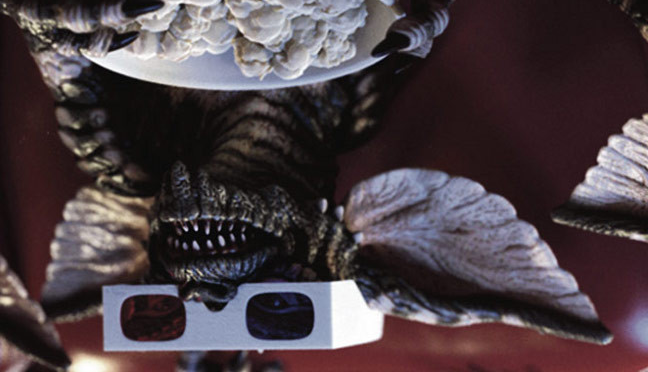
eog foo.bmp &I really prefer you find some images of your own. If you want, however, here is one for you to play with: gremlins.bmp.
2 Read into array of structs, and write
For the first part of the lab, you will just implement the write command to write out the same image that you read in, possibly to a different filename. You should also have a quit command to stop the loop and exit the program.
roche@ubuntu$./imgmodInput file:gremlins.bmpcommand:write g2.bmpcommand:write g3.bmpcommand:quit
After running the above program, files g2.bmp and g3.bmp should both be exact copies of gremlins.bmp:

Important: You can get started by just copying one of your programs from Lab 6 or looking at my sample solution for replace.c. But you will have to change that program to use structs and arrays!
Instead of reading and writing simultaneously in the same loop, your program should read the entire image into a 2D array at the beginning, and then write out that stored image whenever it sees a write command.
I strongly suggest making use of a pixel struct such as
struct pixel {
  int red;
  int green;
  int blue;
};
You may also want a struct image that stores the width and height of the image as well as a 2D array for the pixels.
3 Flip
Add the functionality for a command flip that flips the image upside-down by rotating it 180 degrees. So the reverse of the last row in the original becomes the first row in the new image, and so on for all the rows.
This example run:
roche@ubuntu$./imgmodInput file:gremlins.bmpcommand:flipcommand:write gf.bmpcommand:quit
would produce a file called gf.bmp that would look like:
Hint: The size of the “flipped” image is the same as the original one. It’s probably easiest to start by making a new 2D array of pixels for the new image, and then copying them one at a time. But if you’re clever you can do it without having to make a new array at all!
4 Blood mode
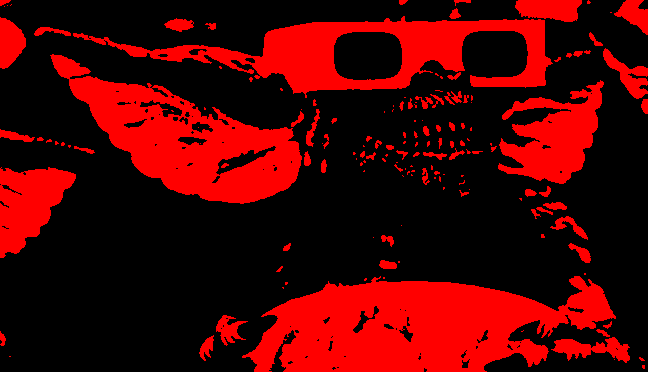
Add the functionality for a command blood that turns your image into “blood mode” according to the following rules:
- Any pixel where the sum of (red + green + black) values is at least 256, turns to pure red (R=255, B=0, G=0).
- Any other pixel turns to pure black (R=0, B=0, G=0).
For example, running:
roche@ubuntu$./imgmodInput file:gremlins.bmpcommand:bloodcommand:write gb.bmpcommand:quit
Should produce a file gb.bmp that looks like
This is probably a good time to emphasize that any of these commands can be run independently from each other. So you can do blood, flip, or do them multiple times. (Although, running blood more than once will turn the whole image black!)
5 Mirror
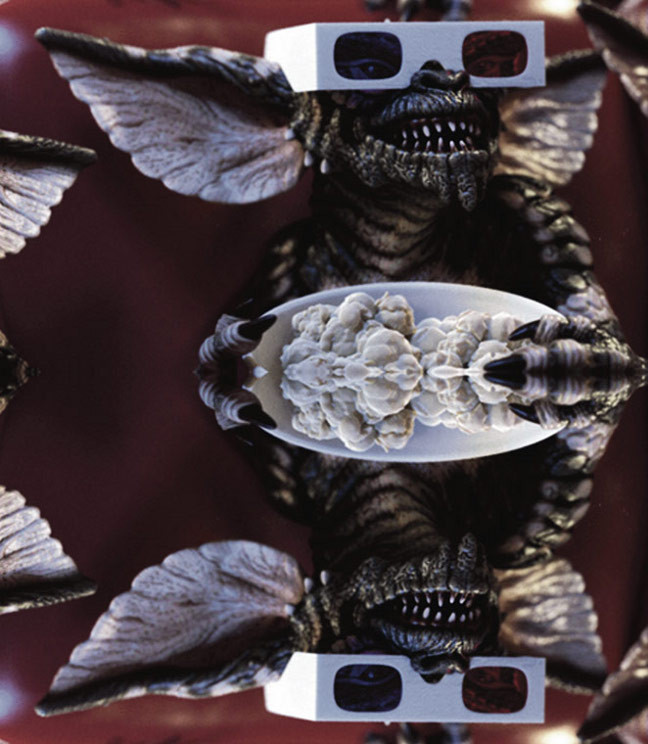
Add the functionality for a command mirror that doubles the height of your image, by making a “mirror image” just below the original.
Note: In a BMP image row number 0 is the last row in the image — think of the row and column like (y,x) coordinates in a graph. So that means that when you mirror the image, you really move the original rows up and then make the mirror below it.
Example:
roche@ubuntu$./imgmodInput file:gremlins.bmpcommand:mirrorcommand:write gm.bmpcommand:quit
would produce gm.bmp:
6 Blur (going further)
The rest of this lab is optional for your enrichment and enjoyment. Be sure to work on this only after getting everything else perfect. You should still submit this work, but make sure it doesn't break any of the parts you already had working correctly!
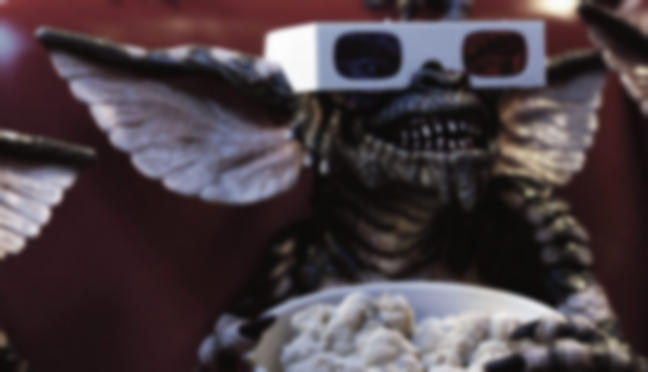
Add a blur X command to your program that replaces each pixel’s color with the average of the surrounding 5x5 grid of pixel colors. What that means is, for each pixel, you look at the pixels 2 rows above, down to 2 rows below, and 2 columns to the left, over to 2 columns to the right. “Averaging” is on a per-color basis, with a separate red, green, and blue average that goes into the resulting pixel.
Of course, you have to be careful not to go “off the edge” for the pixels that are close to the boundaries of the image. For example, the bottom-left pixel should get the result of the bottom-left 3x3 grid of pixels averaged together.
You almost certainly need to create a new 2D array for this one, because otherwise you would be overwriting each pixel before you use it to compute the blurred average for the next pixel!
It can be interesting to do the blurring multiple times in a row to make the image look extra blurry. For example:
roche@ubuntu$./imgmodInput file:gremlins.bmpcommand:blurcommand:blurcommand:blurcommand:write gblur.bmpcommand:quit
creates the following in gblur.bmp:
7 Who needs a prof?
From here, the sky’s the limit. What do you want to do? You could draw pictures in pixels, fade to black as you move horizontally across an image, merge two images so that the top is image 1, the bottom is image 2, and the transition between is smooth. You could do that thing where you create a big picture that’s made up of little pictures. Get creative and have fun!